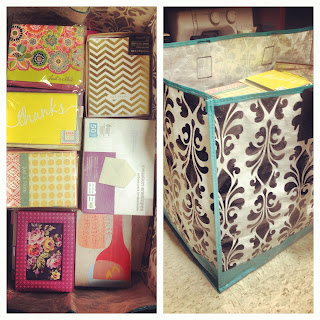
As you may know, I recently moved back to Texas after graduating this May. Upon arrival, I started to gather stationery to write notes to my friends who remained in Oklahoma and those who had moved to other states as well. Two friends in particular, I wanted to make something special for, and after hunting around Hobby Lobby, I came up with the idea of little personalized desk frames.
Thought I'd share the directions in case you're interested in making one for a loved one or yourself!
First, I bought cork letters for the corner of the frames, using their first initial.
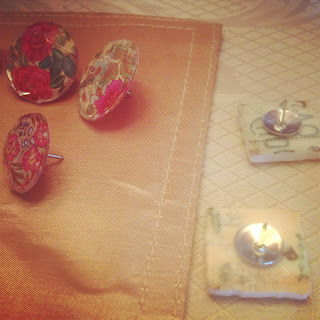
Next, I found things I'd like to use to personalize their thumbtack/pushpins. For my friend Rachel, she is a sweet British-loving soul, so I thought I'd make hers a kind of a old english tea party theme! I found these tiles in the scrapbooking section. For my other friend Kiera, she LOVES elephants, so I thought I'd do a brightly-colored India-inspired frame. I found the stickers (below, right) in the scrapbooking section as well.)
I also thought it would be really cute to make Kiera an elephant pushpin, so I bought this charm to make that happen. I tried to find a teacup charm, but couldn't find one I liked - though I must take a moment to talk about how absolutely lovely Bead Treasures' Fairy Tale charm line is! Some really beautiful & whimsical artistry. The foxhead charm below is from the line, and I just love it so much.
I tend to be a scrapbook paper junkie (though I don't scrapbook per se.) I chose some paper from MAMBI's specialty mixed media pack I had picked up recently, which you can view and purchase here. (I NEVER KNEW OVERSTOCK HAD SCRAPBOOK PAPER? CRAFTING. SECRETS.) MAMBI really does have some fantastic things though. The paper I used for Rachel's I am unfortunately unsure of the brand, as it is leftover I've had for awhile.
 |
| Both from MAMBI's pack. |
I bought plain silver thumbtacks and hot glued the tiles & gems to these. If you have or can find flat topped pins, I would suggest that route as these were more inclined to pop off (or perhaps use super glue instead of hot glue, and truthfully, I am not the best hot gluer anyways!) I then painted each of the letters and allowed those to dry.
I spray painted my frames an ivory color. Note: Be attentive when buying frames! I saw these wooden ones at Hobby Lobby and didn't realize the beveled corners (I thought they were a part of the packaging.) I had to chip them off and then sand them down to make the frame one thickness, which was slightly frustrating.
Now this elephant thumbtack. Trickery. I must admit, I solicited help from my family on this one. Cut and sanded the charm circle loop on the elephant's back, cut a skinny nail, and used a dremel to put a hole in the elephant. Then spray painted! Thank goodness for family, the elephant turned out exactly as I had hoped.
The last step was finding quotes that fit their personalities and printing and inserting that into the frame. Et voila! For future adaptions, I'd like to make a version that maybe is just used as a dry erase desk frame and playing with other charm-pins and frame styles, also may include collaged pictures behind the glass. Looking forward to hopefully finding a new job soon so I can make one for my new desk area!
Any tips you would offer or tweaks you'd make? Would love to know!


